Find Professional Help for Custom Websites
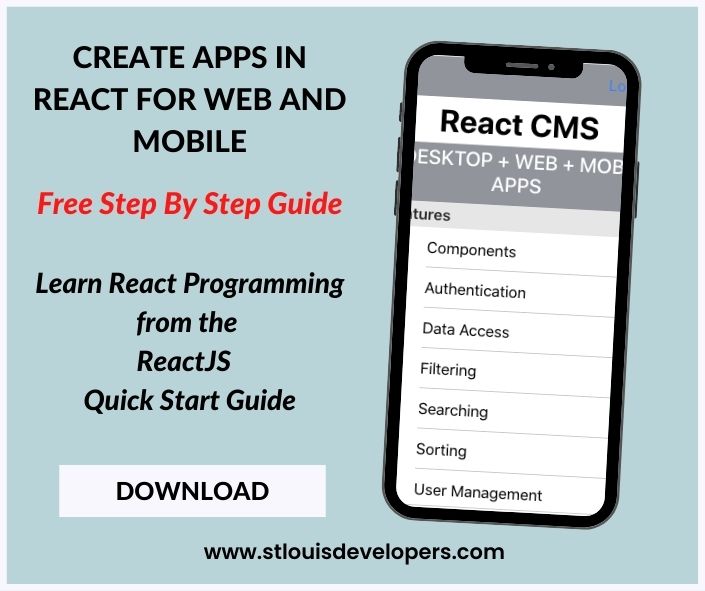
How to Develop Next.js React Websites on Node.js + Express Restful APIs
In this lesson, we will review the basics of building a Next.js + React App / Website running on a back-end of Express.js RestFul Apis
Topics covered will include ...
Why Next.jsHow to Create / Start a Next.js project
How to Setup an Express.js Api & Backend
How to Add Authentication (Login / Logout) Features
Frequently Asked Questions (FAQs)
Why Next.JS?
Next.js is an open source React + Node based framework that provides you with tools for building optimized websites / apps with server-side rendering (SSR), routing & data fetching.
The Next.js framework also offers HTTP caching, linting and standardisation, SEO tools, and automatic code-splitting via dynamic imports or webpack bundles.
In this project, you will learn how to create a React app with a Login page for User Authentication using Next.js
How to Start / Create a Next.js project
The source code for this project is hosted on Github and you can clone it to a local folder.
However, you can also follow the steps below to create a new Next.js project from scratch.
However, you can also follow the steps below to create a new Next.js project from scratch.
Prerequisites
As mentioned, we'll be using Next.js for building this.
For Next.js to work, we need to have Node.js and npm installed.
So, first, install Node.js if you haven't yet.
You can follow the following guides to install Node.js. If you want to use yarn, install it using npm ...npm install --global yarn
- Change directory to the local folder where you want to create and run your Next.js project
-
Create a new Next.js app on your terminal using the create-next-app NPM command ↓
npx create-next-app@latest --typescript -
You will be prompted with a question like: ↓
Need to install the latest following packages: create-next-app@latest Ok to proceed? (y) - Answer: Y and then you will be prompted with another question ↓
What is your project named?Answer: nextjs-react-base - A new Next.js app will be created, complete with the folders: /pages, /public & /styles
- After the project is created, start your Next.js app by running this command in the root of your project: ↓
npm run devand then view & browse your new Next.js project at http://localhost:3000
How to Setup an Express.js + Node.js Api Backend for your Next.js (React) Website
- The authentication Apis for the Login Form of your Next.js App will be handled by another Express.js + Node Api project.
-
Clone the Express.js Api backend for this project from our public git repository at: github.com/stlouis-mo-developers/NodeExpressApi
- After you clone that repository, get it running using on your local host using the command:
npm start - View your Express.js Api Backend at http://localhost:3010/
How to Add Authentication (Login / Logout) Features to your Next.js (React) app
- In the application's root folder ( nextjs-react-base ), create a components folder and then an authentication folder inside the components folder
-
Create a login-form.tsx file inside the /components/authentication folder:
nextjs-react-base/components/authentication/login-form.tsx -
Import the Login component in the index.tsx homepage in your root folder:
import LoginForm from '../components/authentication/login-form'; -
Display the login form inside your index.tsx root/ homepage:
<section> <LoginForm> </LoginForm> </section> -
Take a look at the login-form.jsx inside the /components/authentication folder
There are two input fields for the user's username and password as well as a button for submitting the login page.<input value={form.name} onChange={onChange} className="form-control" id="name" name="name" placeholder="Your username ..." type="text" autoComplete="false" />`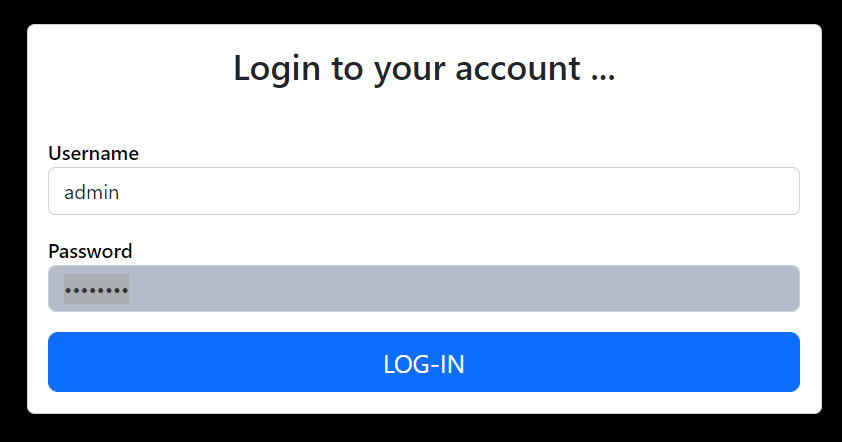
Login Form - As you enter values for the username or password, the input field / textbox onChange event is triggered and then the new form values are extracted in an onChange() function and after that, validated in the validate() function
-
The validate() function evaluates the username and password and if they are both valid, then the Login button is enabled, otherwise the button is disabled.
The form has an isValid state (internal data / property) that is set to true or false using the setValidation(true) function;
The Login button's disabled property is bound to the Form's isValid state and so, the form cannot be submitted unles the form has an isValid state set to true -
When you click on the Login button, the form executes it's onClick() eventhandler / function.
The form's data is submitted / posted by the form's postFormJsonData() function to the Node + Express Api that you have running locally at http://localhost:3010/
const click = (event: any) => {
setLoading(true);
const result = postFormJsonData(formState);
processApiData(result);
setLoading(false); } - The setLoading() function shows the loading indicator before the api call and then hides the loading indicator after the processApiData() function is used to evaluate the apr's response
- If the api result includes an AuthID and Roles, then the Loading Spinner stops and the Login Form hides as the Login process is deemed successful otherwise the Login Form stays open & visible
You can clone the Next.js app with the Login Form from the git repository at:
Next.js React App
Frequently Asked Questions (FAQs)
- Who are you?
- We are full-stack software developers based in Saint Louis, Missouri, USA
- What do you do?
- We design, code & deploy business / enterprise apps / websites using frameworks & tools like React.js, Angular, Node.js, Ionic, JavaScript
We are based in St. Louis, Missouri and are available to discuss and/or work on your next app or website.
Send us a detailed message here
Send us a detailed message here